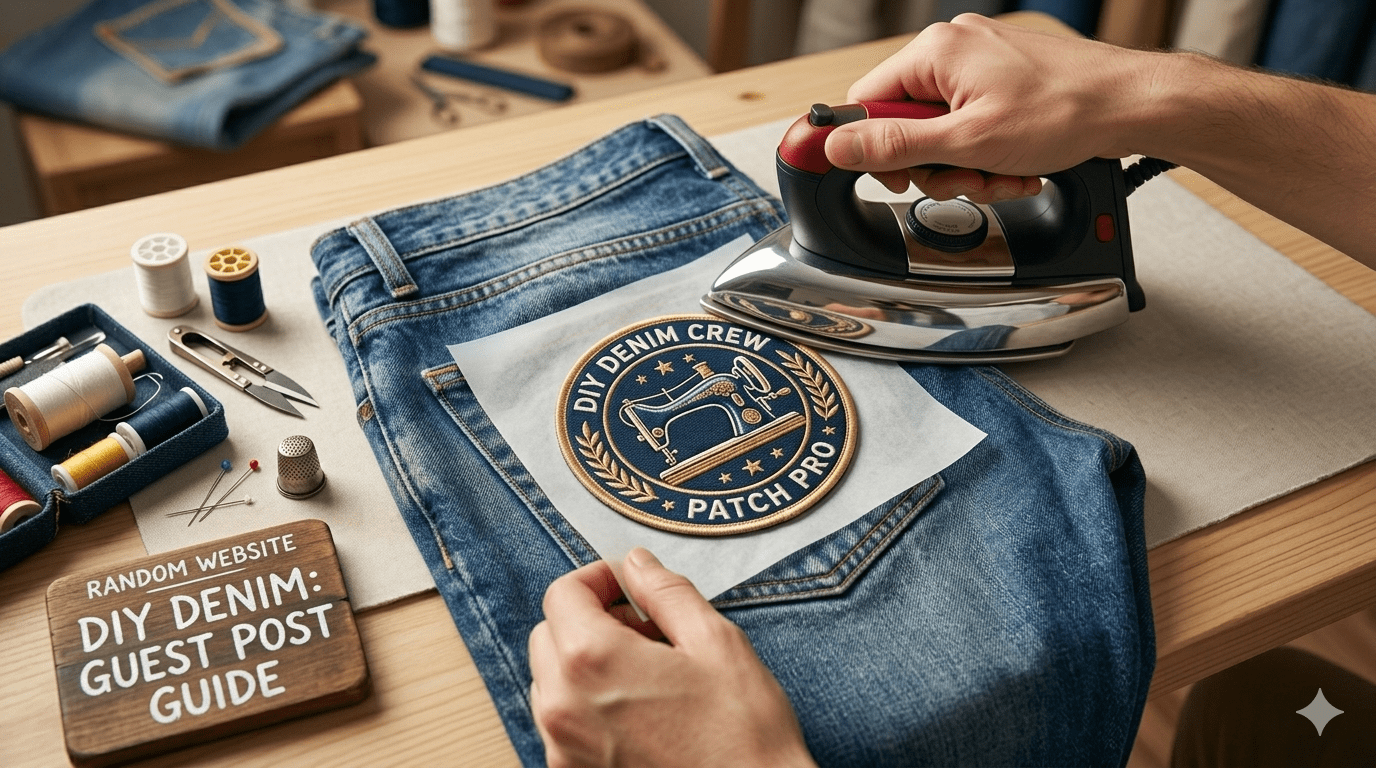
DIY Denim: How to Apply Iron-On Patches Like a Pro [Pro Guide]
Denim has always been a symbol of self-expression in American fashion. From vintage jackets to modern streetwear, people continue to customize denim pieces to reflect their personality and style. One of the easiest and most creative ways to transform plain denim is by using custom denim jacket patches. Whether you want to revive an old jacket, create a trendy statement piece, or add a personal touch to your wardrobe, iron-on patches make the process simple and accessible.
The best part is that you do not need professional sewing skills or expensive equipment to get started. With the right preparation and technique, anyone can apply patches like a pro at home. In this guide, we’ll walk through everything you need to know about applying iron-on patches properly while ensuring long-lasting results.
Why Iron-On Patches Are Popular
Iron on patches have become increasingly popular in the USA because they offer a fast and affordable way to personalize clothing. Unlike traditional sewing methods, iron-on backing allows patches to adhere directly to fabric using heat.
People use custom iron-on patches for many reasons, including:
- Personalizing denim jackets and jeans
- Covering holes or damaged areas
- Representing clubs, teams, or hobbies
- Creating vintage or retro-inspired fashion
- Adding unique artwork to everyday clothing
Denim, in particular, works exceptionally well because it can withstand the heat required during application while providing a sturdy surface for adhesion.
Choosing the Right Patch for Denim
Before applying patches, it’s important to choose the right style and material. Not all patches are made equally, and some perform better on denim than others.
Embroidered Patches
These are the most common and provide a textured, high-quality appearance. They work perfectly for bold designs, logos, and lettering.
Printed Patches
Printed options allow for detailed graphics and colorful artwork. They are ideal for photo-style designs or modern aesthetics.
Chenille Patches
Often seen on varsity jackets, chenille patches create a soft, raised texture that stands out on denim.
Woven Patches
Woven styles are thinner and better for intricate details or minimalist fashion looks.
When shopping for patches, many people now prefer to order patches online because it offers more customization options and convenient design flexibility.
Tools You’ll Need
Applying patches successfully requires a few simple tools that are probably already available at home.
Essential Supplies
- Iron
- Ironing board or flat heat-safe surface
- Thin cotton cloth or pillowcase
- Denim jacket or jeans
- Iron-on patches
- Tweezers or ruler for positioning
Optional but helpful tools include fabric glue or a sewing kit for extra reinforcement.
Preparing Your Denim
Preparation is one of the most overlooked steps, but it significantly affects how well patches stick.
Wash the Garment First
Always wash and dry your denim before applying patches. This removes dirt, oils, and fabric treatments that may interfere with adhesion.
Avoid Fabric Softener
Fabric softeners can leave residue on clothing, making it harder for adhesive backing to bond properly.
Iron the Surface
Wrinkles can create uneven contact between the patch and fabric. Quickly iron the area before application to ensure a smooth surface.
How to Position Your Patches
Placement can completely change the final look of your denim piece. Before applying heat, experiment with different layouts.
Popular placement ideas include:
- Back panels of denim jackets
- Jacket sleeves
- Chest pockets
- Shoulder areas
- Jeans knees or thighs
Take your time arranging the patches. Some people use masking tape or safety pins temporarily to visualize the final design before pressing.
Step-by-Step Guide to Applying Iron-On Patches
Applying patches is straightforward, but following the correct process ensures durability and professional-looking results.
Step 1: Heat Your Iron
Set your iron to the cotton setting without steam. Steam introduces moisture, which can weaken adhesive activation.
Step 2: Place the Patch
Position the patch exactly where you want it on the denim. Double-check alignment before continuing.
Step 3: Cover with Cloth
Place a thin cotton cloth or pillowcase over the patch. This protects both the patch and the denim from direct heat damage.
Step 4: Apply Firm Pressure
Press the iron firmly onto the patch for about 30–40 seconds. Avoid moving the iron back and forth because this may shift the patch.
Step 5: Flip and Repeat
Turn the garment inside out and iron the backside of the patch area for another 20–30 seconds. This helps strengthen the bond.
Step 6: Let It Cool
Allow the patch to cool completely before testing the edges. Adhesive needs time to set properly.
Common Mistakes to Avoid
Even though applying patches is easy, a few common mistakes can affect the final outcome.
Using Low Heat
Insufficient heat prevents the adhesive from melting properly.
Applying to Stretch Fabrics
Iron-on patches stick best to rigid materials like denim or cotton. Stretchy fabrics may cause peeling over time.
Skipping the Backside Press
Many people forget to iron from the inside, reducing long-term durability.
Washing Too Soon
Wait at least 24 hours before washing the garment after application.
How to Make Patches Last Longer
If you want your custom denim jacket patches to stay attached for years, proper maintenance matters.
Wash Inside Out
Turning garments inside out reduces friction during washing.
Use Cold Water
Hot water can weaken adhesives over time.
Avoid High-Heat Dryers
Air drying is the safest option for preserving patch adhesion.
Reinforce with Stitching
For jackets worn frequently, adding a few stitches around the edges provides extra security.
Many fashion enthusiasts combine ironing with sewing for maximum durability, especially on heavily used outerwear.
Creative DIY Denim Ideas
Iron-on patches are incredibly versatile, allowing you to experiment with endless styles.
Vintage Americana Style
Use retro band patches, flags, and faded denim for a classic American look.
Minimalist Streetwear
Apply small monochrome patches sparingly for a clean, modern appearance.
Artistic Statement Jackets
Mix oversized back patches with smaller sleeve accents to create wearable art.
Repair and Upcycling
Patches are also excellent for covering worn areas and extending the life of older clothing.
DIY fashion has become increasingly popular because it promotes sustainability while encouraging creativity.
Are Iron-On Patches Permanent?
Iron-on patches can last a long time when applied correctly, but they are not always completely permanent. Factors like washing habits, fabric quality, and wear frequency affect longevity.
For everyday denim jackets, combining heat application with a few hand stitches is usually the best long-term solution.
Where People Find Custom Patch Designs
As personalized fashion continues growing across the USA, more people are exploring online customization services. Many choose to order patches online because it gives them access to unique artwork, custom sizing, and personalized designs that are difficult to find in local stores.
Online platforms also make it easier to create matching patches for groups, events, brands, and fashion collections.
Final Thoughts
DIY denim projects are one of the easiest ways to refresh your wardrobe without spending heavily on new clothing. With the right technique, custom iron on patches can instantly transform ordinary denim into something unique and personal.
From vintage-inspired jackets to modern streetwear designs, patches allow anyone to experiment creatively while adding individuality to their style. By following the correct preparation, heat application, and care methods, you can achieve professional-quality results right at home.
Whether you are customizing a single jacket or creating an entire collection of personalized apparel, learning how to apply patches properly is a valuable skill that combines fashion, creativity, and practicality.